Needlestick at Your Healthcare Office? Here's Exactly What to Do Next

Kelli Ngariki • August 18, 2026

If a needlestick happened today, would your team know exactly what to do next—or lose critical time figuring it out?
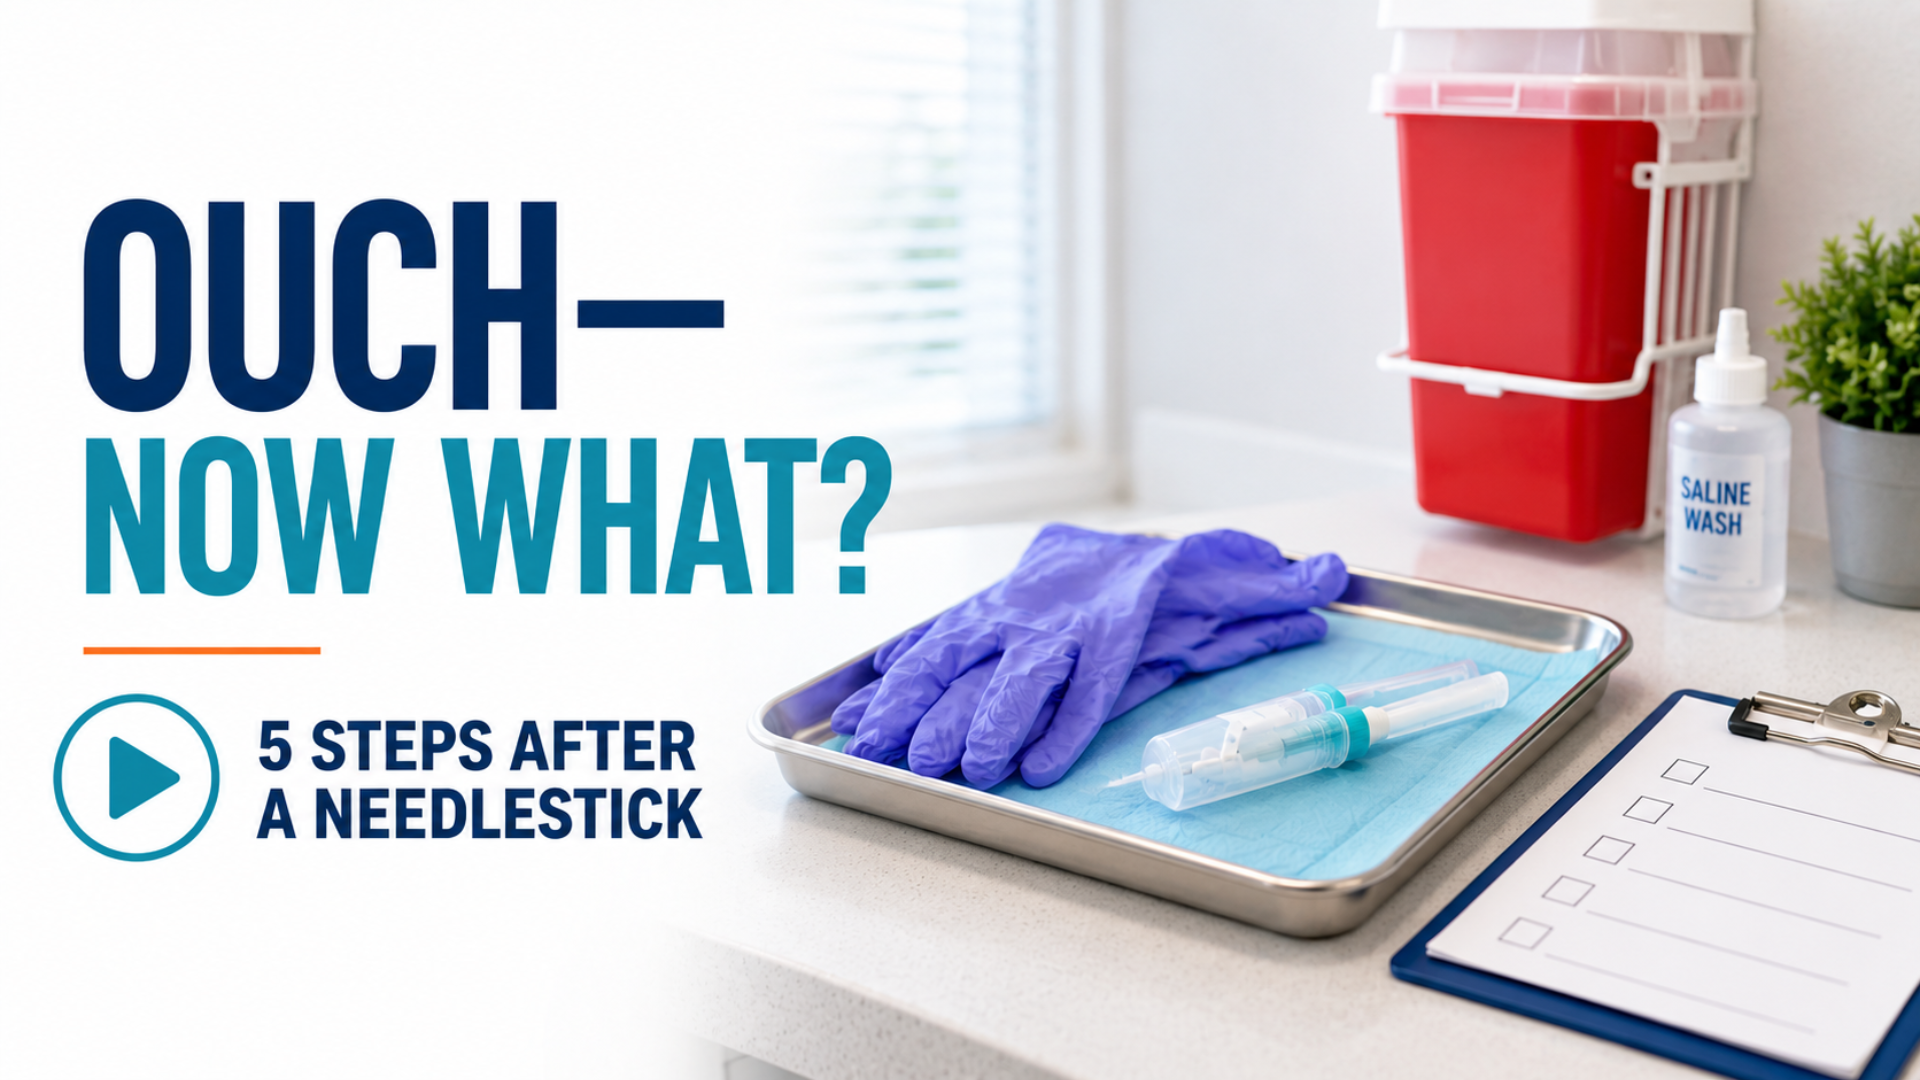
Transcript:


What Are the Exact Steps Following a Needlestick or Accidental Exposure?

If someone in your office got stuck with a needle today, would they actually know what to do next?

Not what the manual says. I mean, in that moment—would they know where to go, who to tell, what paperwork needs to be completed, and where they’re supposed to go for medical evaluation?

Because once an exposure happens, that's not the time to start looking for your Exposure Control Plan.


I'm Kelli Ngariki with Healthcare Compliance Associates, and we've helped hundreds of Oregon healthcare practices prepare for situations just like this.

So, I want to walk you through the five steps your team should know before a needlestick or accidental exposure occurs.

And I'll also cover a few mistakes I've seen practices make that can turn an already stressful situation into a much bigger problem.


STEP 1: TAKE CARE OF THE EXPOSURE FIRST

First things first: take care of the exposed area.

For a needlestick or cut, wash the area with soap and water.

If blood or other potentially infectious material gets into the eyes, nose, or mouth, immediately flush the area with plenty of clean water or saline.

This sounds obvious, but when people panic, they sometimes jump ahead. They're thinking, Who do I tell? Where's the form? What do I do?

Start with first aid.

And one thing I want to make really clear: don't aggressively scrub the wound or try to squeeze blood out of it.

Wash the area, then move on to the next step.

And remember, washing the area is not a substitute for medical evaluation. It's simply your immediate first response.


STEP 2: TELL SOMEONE RIGHT AWAY

Next, report the exposure immediately.

Your employees should already know exactly who they're supposed to notify. Maybe that's your office manager, safety officer, supervisor, or another designated person.

And this is an area where I've seen practices run into trouble.

An employee gets poked and doesn't say anything.

Maybe they're embarrassed. Maybe they think, It barely broke the skin, so it's probably fine. Or they don't want to make a big deal out of it.

Sometimes they simply didn't realize they were supposed to report it.

That's why I tell practices: don't just have a reporting procedure on paper. Make sure your employees actually know it.

They should be able to answer three questions:

  1. What needs to be reported?
  2. Who do I report it to?
  3. And how quickly do I need to do it?

The answer to that last one is easy: right away.


Some post-exposure decisions can be time-sensitive. You don't want an employee waiting until the end of the shift—or until tomorrow—to mention what happened.


STEP 3: ADDRESS SOURCE TESTING

Once the exposure has been reported, you'll also need to address source testing when it's appropriate.

This is one of those areas where I don't want employees improvising.

Your practice should have a procedure for what happens next, including how you handle the source patient and how you obtain consent when testing is appropriate.


Generally, you're asking the source patient for voluntary consent for relevant bloodborne pathogen testing based on the exposure and applicable requirements.


And yes, the patient may decline.

If they do, document that.

But here's the really important part:


Don't let what's happening with the source patient delay care for your employee.

The exposed employee still needs prompt, confidential medical evaluation.

The healthcare professional evaluating that employee can look at the circumstances of the exposure, the information that's available, the employee's vaccination history, and determine what testing, treatment, or follow-up is appropriate.

Your job at the practice level is to have the process ready so nobody is trying to figure it out after the exposure has already happened.


STEP 4: DOCUMENT WHAT HAPPENED

Next comes documentation.

And I know paperwork probably feels secondary when you're dealing with an exposure, but this is an important part of the process.

Document what actually happened while the details are still fresh.

  1.  When did it happen?
  2. Where did it happen?
  3. What was the employee doing?
  4. What needle, instrument, or device was involved?
  5. How did the exposure occur?
  6. What did the employee do immediately afterward?
  7. Who was notified?

Your Exposure Control Plan should tell you what documentation your practice needs to complete.

And depending on the incident and your practice, there may be additional recordkeeping requirements, including your Sharps Injury Log.


But here's the part I really want practice owners and managers to think about:

Don't document the incident and then stick the paperwork in a file and forget about it.

Ask: Is there something we can learn from this?

Maybe an instrument was being passed in a way that created unnecessary risk.

Maybe a sharps container wasn't located where the team really needed it.

Maybe there's a safer device or a workflow that should be evaluated.

Or maybe the employee simply wasn't trained on the procedure.


That's where documentation becomes more than paperwork. You're using the incident to look for an opportunity to prevent the next one.


STEP 5: GET THE EMPLOYEE MEDICALLY EVALUATED

Finally, the exposed employee needs prompt, confidential medical evaluation and follow-up.

And please don't wait until an exposure happens to Google, Where do we send somebody for a needlestick?

Figure that out now.


Your practice should already know where an employee will go.

That might be occupational health, an urgent care clinic, employee health services, or another healthcare provider you've designated for post-exposure evaluation.

Make sure your managers know where that is.

Make sure they know how to contact them.

And make sure you have a backup plan if an exposure happens late in the day or when your usual provider isn't available.


The evaluating healthcare professional will determine the appropriate medical next steps based on the actual exposure.

Your responsibility is to make sure the employee can get there without unnecessary confusion or delay.


FIVE THINGS I DON'T WANT YOU TO DO

Now that you know the five steps, let me give you five things I don't want to see happen after an exposure.


Number one: Don't brush it off.

Even if the employee thinks, It's probably nothing, follow your exposure procedure.


Number two: Don't wait to report it.

This isn't something to mention tomorrow morning. Report it right away.


Number three: Don't aggressively squeeze or scrub the wound.

Wash it with soap and water and follow your exposure procedure.


Number four: Don't forget the documentation.

Document what happened, complete the required records, and then look at whether anything needs to change.


And number five—and this is probably the biggest one—don't assume your employees already know all of this.

Having an Exposure Control Plan in a binder doesn't mean your team knows what to do.

They need training.

They need to know where that plan is.

And they need to understand exactly what happens in your office if an exposure occurs.


QUICK REVIEW

So, if you remember nothing else from this video, remember these five steps:

One: Wash or flush the exposed area immediately.

Two: Report the incident immediately.

Three: Address source testing when appropriate without delaying care for your employee.

Four: Document what happened and evaluate whether anything needs to change.

Five: Get the exposed employee prompt medical evaluation and follow-up.

That's your basic roadmap.


And the goal isn't to make employees memorize regulations.

The goal is that if something happens on a Tuesday afternoon in the middle of a busy schedule, your team doesn't panic.

They know what to do.


Here's what I'd like you to do after this video.

At your next safety meeting, ask your team one question:

"If you had a needlestick right now, what would you do?"

And let them answer.

Can they tell you where they would wash the exposure?

Who they would report it to?

Where your Exposure Control Plan is?

And where they would go for medical evaluation?


If they can't answer those questions, you've just identified a really useful training opportunity before someone gets hurt.

We've also created a simple infographic with these five steps that you can download and post in a staff-only area as a quick reminder for your team.


And if you're an Oregon healthcare practice and you're not sure whether your Exposure Control Plan or post-exposure procedures are where they should be, you can schedule a free Compliance Risk Review with Healthcare Compliance Associates. We'll help you take a practical look at what you already have in place and where you may have gaps.

Because when an exposure happens, your employees shouldn't have to figure out what to do.

The plan should already be there.


If this was helpful, subscribe for more practical, Oregon-specific compliance guidance.


Thanks for watching, and I'll see you in the next video.


Full Length Video Here: https://youtu.be/MQgiQx9tMFQ
By Kelli Ngariki July 28, 2026
Small compliance mistakes can lead to big consequences. Learn what to watch for and how to protect your practice.
By Kelli Ngariki July 9, 2026
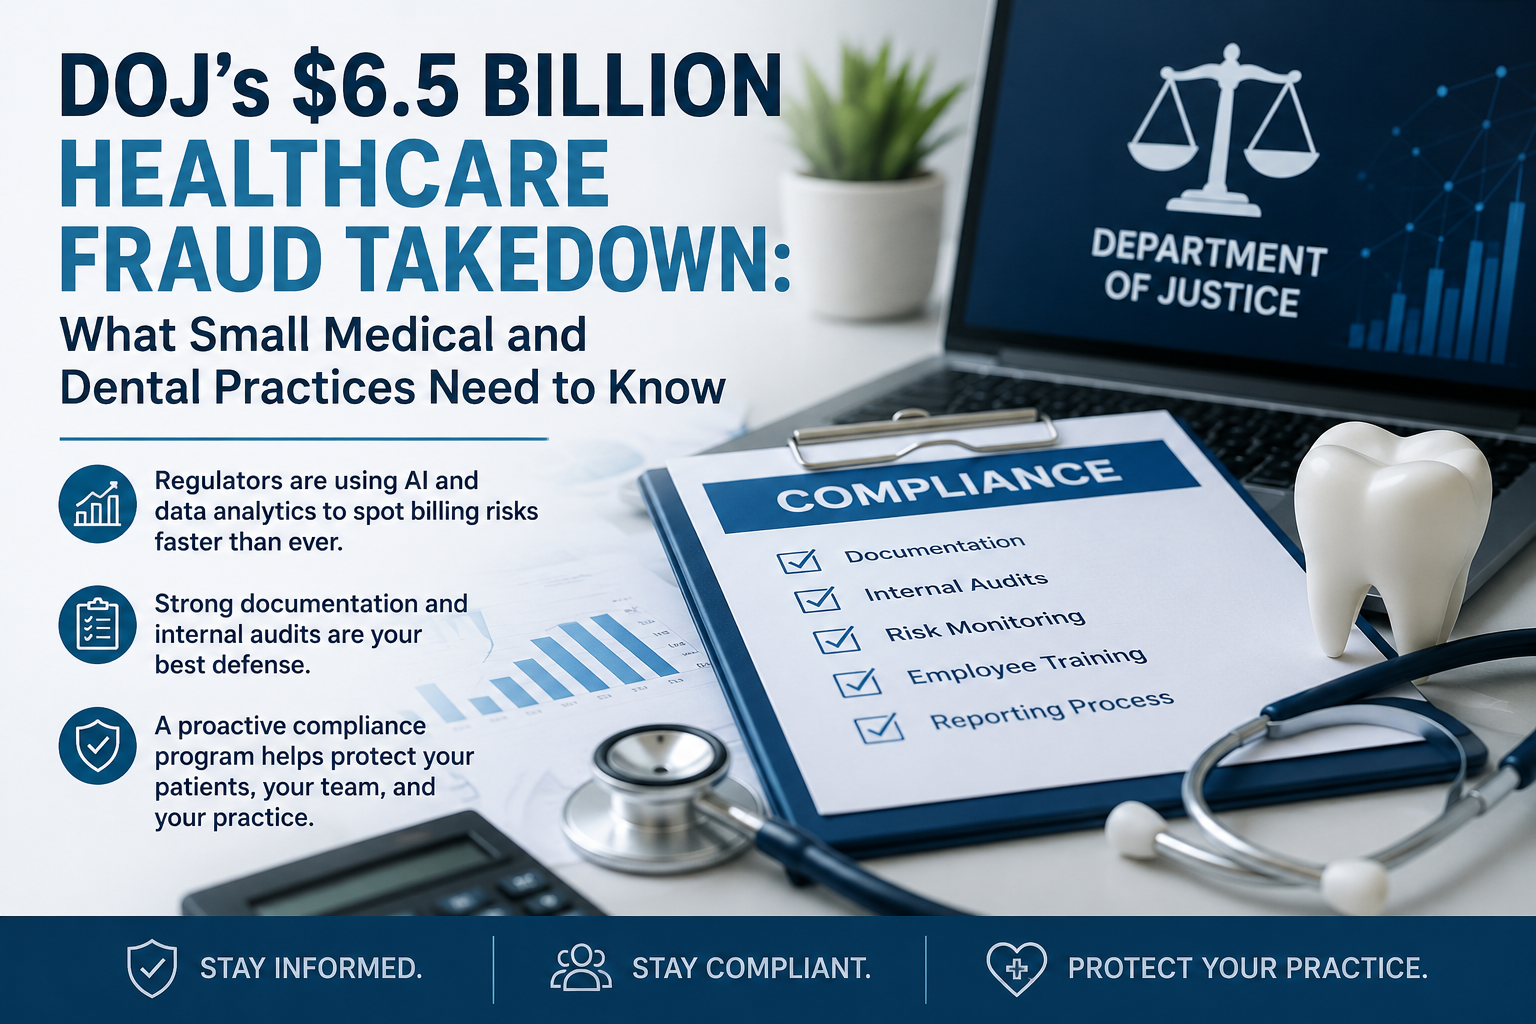
The largest healthcare fraud investigation in U.S. history offers valuable compliance lessons for small medical and dental practices. Here's what every practice owner and office manager should know.
By Kelli Ngariki June 18, 2026
If OSHA walked into your dental or healthcare office tomorrow, would your team know what to do?
By Ayana Guzzino May 12, 2026
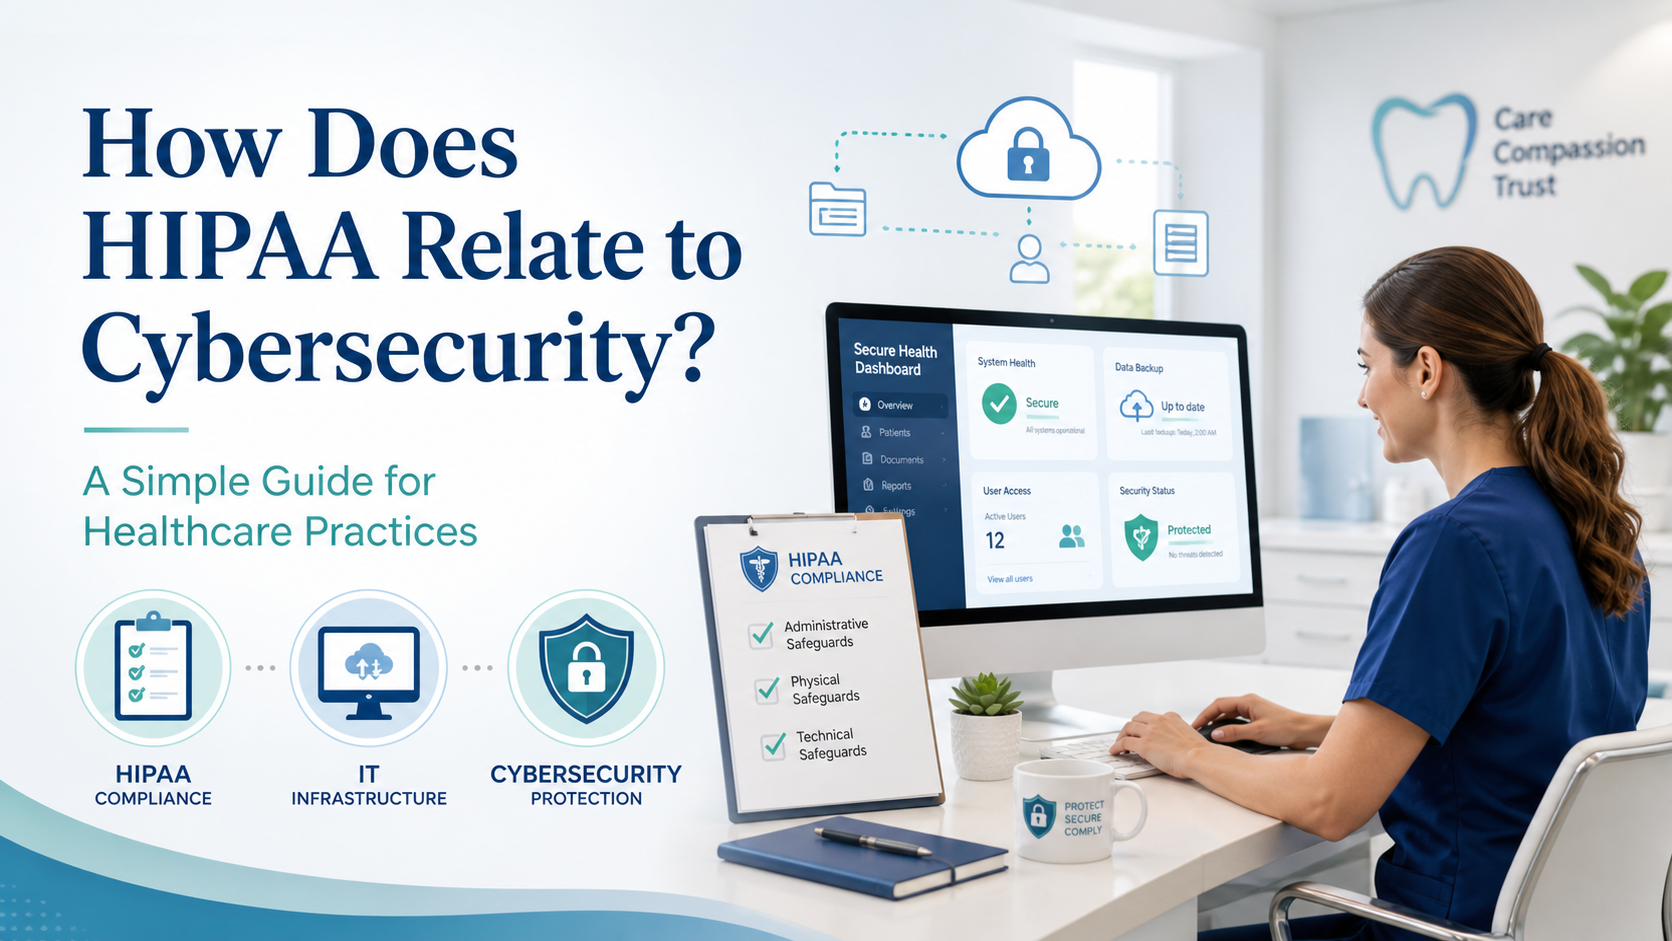
HIPAA, IT, and Cybersecurity: What Healthcare Teams Need to Know
HIPAA Compliance for Healthcare Practices
By Kelli Ngariki April 21, 2026
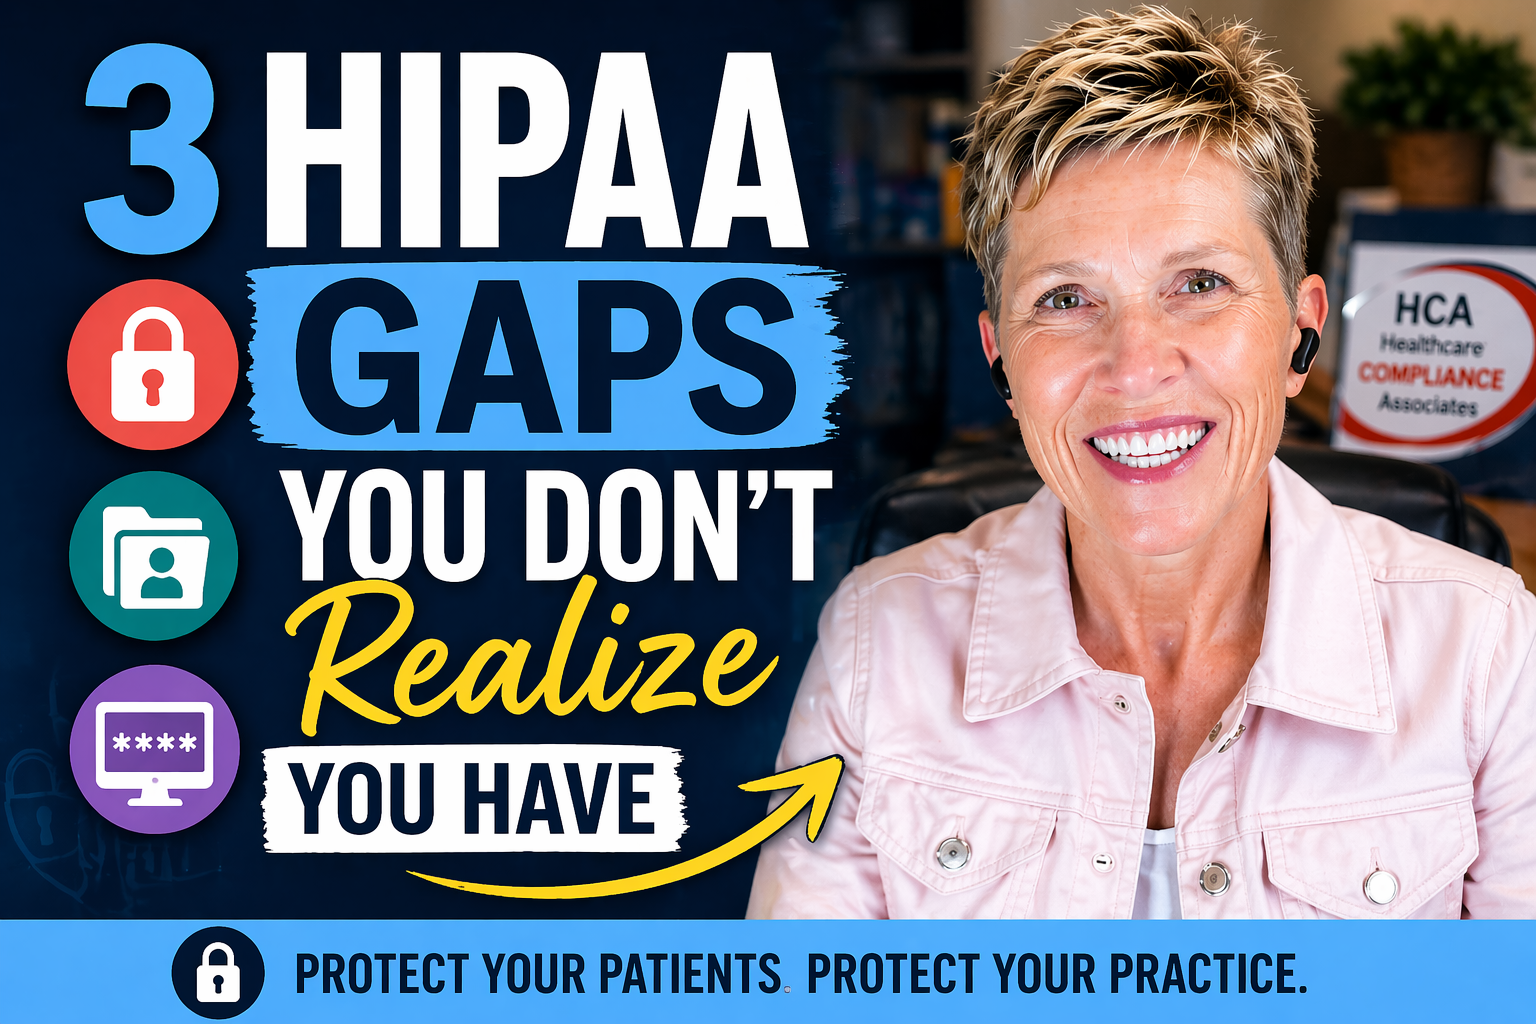
HIPAA Compliance for Healthcare Practices starts with identifying hidden gaps. Learn the 3 hidden compliance gaps commonly found and how to address them.
By Kelli Ngariki April 14, 2026
Small dental and healthcare clinics have enough on their plate without worrying about OSHA citations. Beyond avoiding fines, workplace safety is essential for protecting your team and fostering a culture of care, responsibility, and professionalism. Whether you’re new to managing compliance or just need a refresher, here are five key OSHA must-haves for 2025: 1. Bloodborne Pathogens & Sharps Safety Train annually (yes, every year!) on how to handle exposure risks Keep a current Exposure Control Plan Offer the hepatitis B vaccine series and document refusals Ensure every employee with face-to-face patient contact has a documented TB test, as required for healthcare settings 2. Hazard Communication Make sure your team knows where SDS sheets are stored and how to read them Label secondary containers clearly Train new staff on chemical hazards—before their first exposure 3. PPE Use and Fit Gloves, eye protection, masks, gowns: who wears what, and when? Train staff on how to properly don and doff PPE Conduct hazard assessments to justify PPE use 4. Emergency Action Plans Fire evacuation, exit routes, and emergency contacts should be posted and known Conduct brief Emergency Action Plan refreshers annually (many offices forget this!) 5. OSHA Documentation & Inspection Prep Keep training logs, incident reports, and written plans accessible Know what to do if an inspector shows up—who talks to them, what documents to provide Bonus: Don’t Let OSHA Be a Surprise Most OSHA citations in small clinics are for things like: Failure to document regular safety meetings Missing training records No exposure control plan Blocked exits Failing to flush eye wash stations Why OSHA Compliance Matters More Than Ever in 2025 OSHA doesn’t have to be overwhelming. With a little preparation and the right tools, you can create a safe, compliant workplace and avoid costly mistakes. Want help with your OSHA binder, policies, or staff training? Reach out—we make compliance doable for busy healthcare teams. This post was drafted with assistance from AI and reviewed by a compliance professional to ensure accuracy and relevance for healthcare practices.
By Kelli Ngariki March 5, 2026
Learn what patching vulnerabilities means for dental and small healthcare practices, who owns it, how often to patch, and what OCR expects after ransomware.
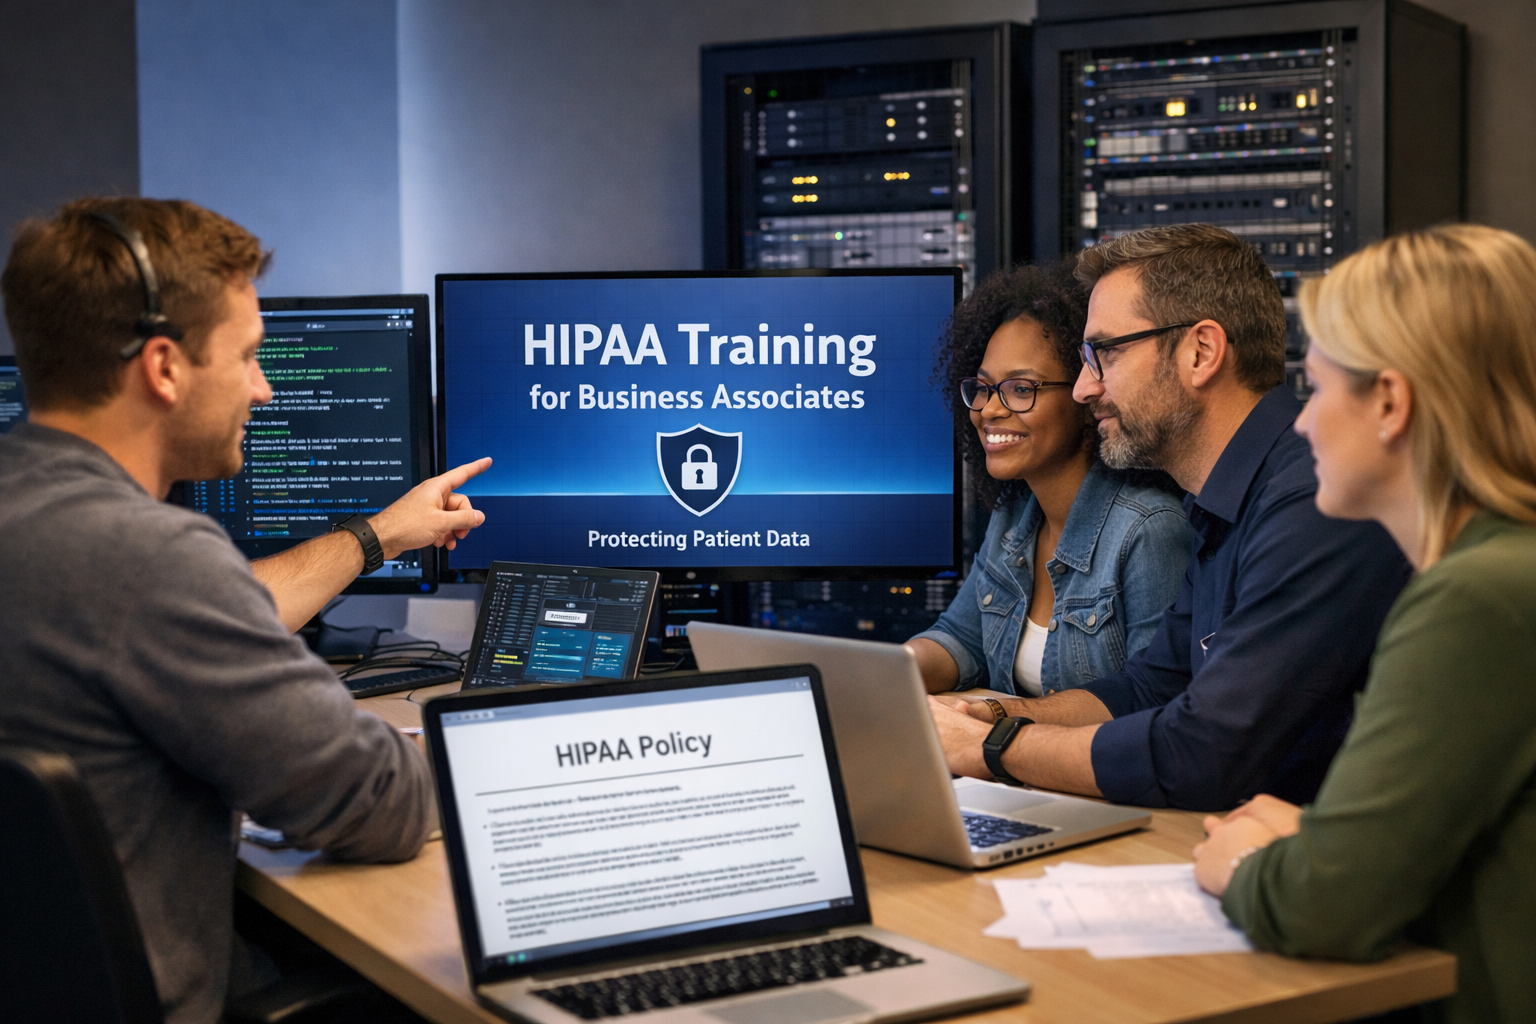
People receiving HIPAA training; a man points to a screen displaying training information. Laptop open, server room in background.
By Kelli Ngariki February 18, 2026
Many tech companies and vendors don't realize HIPAA applies to them. Learn if you're a Business Associate and what training your workforce needs to avoid fines.
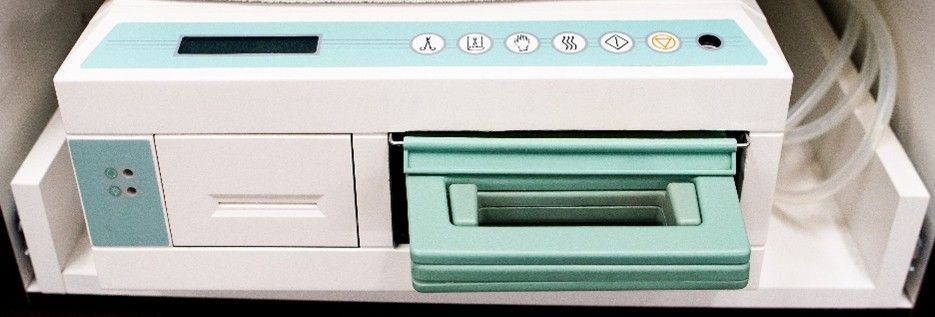
Medical device, white and teal, with a tray and control panel.
By Kelli Ngariki November 24, 2025
In fast-paced dental and medical clinics, it’s tempting to rely on a STATIM sterilizer—a type of immediate-use steam sterilizer—to quickly process instruments. But using this device appropriately is critical to patient safety and regulatory compliance. This post breaks down when and how to use STATIM sterilization based on CDC flash sterilization guidelines, helping small healthcare practices stay compliant without cutting corners. What Is an Immediate-Use Steam Sterilizer (STATIM)? A STATIM sterilizer is a specialized piece of equipment used for immediate-use steam sterilization (IUSS), formerly known as flash sterilization. It’s designed to rapidly sterilize medical and dental instruments that are urgently needed for patient care—not for routine or convenience-based use. When Is It Acceptable to Use a STATIM Sterilizer? According to CDC sterilization standards, STATIM use is acceptable only when: • The instrument is urgently needed and there’s no time to sterilize using standard packaging and storage methods. • It’s not being used to compensate for having too few instrument sets or to save time during busy periods. CDC Guidelines for Flash Sterilization: What You Must Do Following these steps will help you stay compliant with CDC and OSHA infection control requirements: 1. Limit Usage to Urgent Needs Only use STATIM sterilization for instruments needed immediately for patient care. 2. Do Not Use for Convenience Avoid using it as a way to speed up workflow or compensate for inadequate inventory. 3. Thoroughly Clean Instruments First All instruments must be fully cleaned and decontaminated before entering the STATIM cycle. 4. Do NOT Store Unwrapped Items After sterilization, transfer instruments (or handpieces) directly to the point of use in a sterile container or tray. Never store unwrapped items. 5. Use Approved Containers Only Only use flash sterilization containers or trays designed for high-temperature steam. 6. Monitor All Sterilization Cycles • Use biological indicators at least weekly. • Use chemical and mechanical indicators in every STATIM cycle. 7. Prevent Contamination During Transfer Maintain a clean transfer process. Ensure that items aren’t contaminated during handling or transport. Best Practices for STATIM Sterilizer Use in Dental and Medical Clinics • Keep backup instrument sets available to reduce reliance on immediate-use cycles. • Ensure staff are trained on STATIM operation and CDC sterilization protocols. • Document and log every STATIM cycle, including indicator results. • If your clinic is frequently using the STATIM for convenience or to keep up with patient flow, consider investing in an additional autoclave to support proper instrument processing and reduce compliance risks. Learn More from the CDC For detailed guidance on sterilization in healthcare settings, visit the CDC’s official page: 🔗 CDC Sterilization Guidelines Strong infection control isn’t just about guidelines— it’s about how your dental practice operates day to day. The way instruments are handled, PPE is used, and procedures are carried out in the clinical space affects both infection control and OSHA compliance. Issues in these areas are often identified during OSHA inspections, exposure incidents, or infection control reviews. Our FREE OSHA Compliance Risk Review helps dental practices understand how their safety and infection control efforts are functioning by identifying: Workflow or physical-space issues that may increase exposure risk OSHA gaps related to PPE, training, or exposure controls Areas where OSHA and CDC infection control expectations overlap It’s a simple, no-obligation way to confirm whether your safety systems support both staff protection and patient care. 👉 Schedule Your Free OSHA Compliance Risk Review
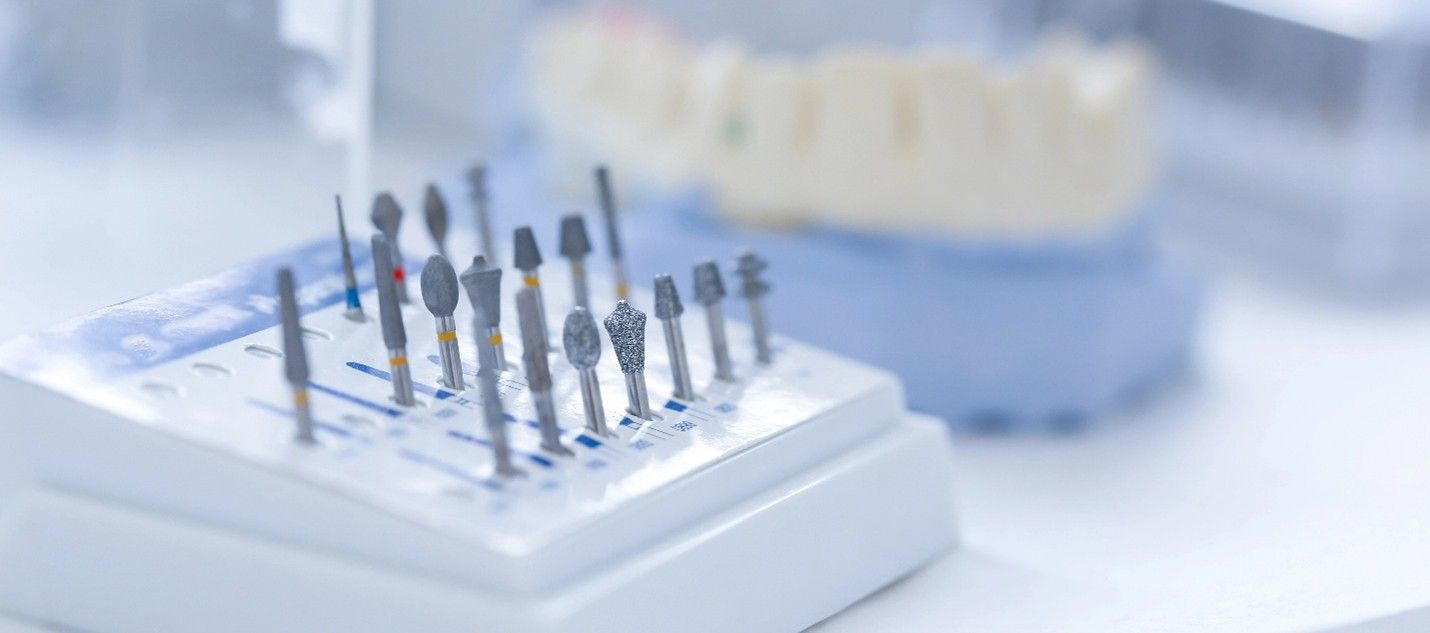
Dental drill bits in a holder, with a dental mold in the background.
By Kelli Ngariki November 18, 2025
If you've ever wondered about the right way to clean and sterilize dental burs, you're not alone. The CDC gives general guidance for sterilizing dental instruments, but doesn’t get into bur-specific details. Regardless of which autoclave you use, the process for burs remains largely the same. Here's how to do it right. The CDC's Take: General Guidelines The Centers for Disease Control and Prevention (CDC) classifies burs as critical or semi-critical instruments, depending on how they’re used. That means they need to be heat sterilized. But before you toss them in the autoclave, they need to be properly cleaned and packaged. Step-by-Step: Best Practices for Burs Here’s how to apply infection control principles in your practice: 1. Identify Your Burs Single-use or Reusable? Check manufacturer instructions. If there are no validated reprocessing instructions, consider the bur single-use and toss it after one use. 2. Pre-clean and Inspect Remove debris immediately after use. Use an ultrasonic cleaner or manually scrub with a detergent or enzymatic solution. Rinse and dry completely. Inspect for damage or wear. If damage, wear, or corrosion: Remove the bur from use (even if minor damage) Discard it in the sharps container For quality control and tracking, consider documenting the discard and the reason. Never try to repair or reuse. 3. Packaging for Autoclaving Best Practice: Use a Bur Holder or Cassette Place burs in a bur block, bur guard, or instrument cassette designed for sterilization. Choose holders that are autoclave-safe (heat-resistant and able to withstand moisture). Then wrap or pouch the holder itself—not the loose burs. Bonus Tip: Some bur blocks come with color-coded or numbered slots so you can standardize bur sets per procedure. If you're using a pouch: make sure the bur holder fits comfortably and the pouch is sealed with chemical indicators inside. Use sterilization pouches or wraps approved for steam sterilization. For small batches, individual pouches work fine. Larger loads can go in wrapped cassettes. Seal all packaging properly and include internal and external chemical indicators. 4. Load Placement in the Autoclave Place pouches paper side up (or follow your pouch manufacturer’s instructions). Don’t overcrowd the trays. Allow space between items. Do not let pouches or cassettes touch the chamber walls. Cassettes should be placed horizontally unless your autoclave manual says otherwise. 5. Choose the Right Cycle Pick the cycle that matches your packaging: "Pouches," "Wrapped Cassettes," or similar. Make sure to allow full drying time to prevent moisture-related contamination. 6. Post-Sterilization Handling Let packs cool and dry fully before handling. Store in a clean, dry area away from sinks or contamination zones. Reprocess any items in compromised packaging. A Note on Sterility and Performance Burs are small and intricate, making them tricky to clean. Over time, reusing them can reduce cutting efficiency and increase the risk of breakage. Keep track of how often burs are reused and inspect regularly. Documentation Matters Make sure your infection control manual includes: Bur inventory (type and classification) Manufacturer instructions for cleaning and sterilization Step-by-step packaging and sterilization protocol Inspection and discard criteria Final Thoughts Using your autoclave the right way means following a solid protocol: proper cleaning, smart packaging, and correct cycle selection. When in doubt, refer to the bur manufacturer's IFU and document everything. Ready to Step Up Your Compliance Game? Book a Compliance Risk Review with us today. We'll evaluate your sterilization protocols, OSHA readiness, HIPAA safeguards, and infection control practices to make sure your office is fully protected and audit-ready. Don’t wait for an inspector to find the gaps—let’s fix them now. Call Lindsay at 541-345-3875 ext. 3 .