Top 5 HIPAA Violations We find in Dental & Healthcare Offices (And How to Avoid Them)

Kelli Ngariki • July 28, 2026

Small compliance mistakes can lead to big consequences. Learn what to watch for and how to protect your practice.
https://youtu.be/Zp-fDTMqfwY?si=NF4ytmSgi-gBc6nG


Transcript


We review healthcare offices across Oregon every week, and almost every office—even the really good ones—is making at least one of these five HIPAA mistakes.

The surprising part? Most teams don't even realize the potential consequences of these actions.


I'm Kelli Ngariki, CEO and Compliance Consultant with Healthcare Compliance Associates. We help dental and healthcare practices build practical compliance systems, and today I'm sharing the five HIPAA violations we see most often—and exactly how you can prevent them. And stick around until the end, because the fifth mistake is one that quietly contributes to almost all the others.


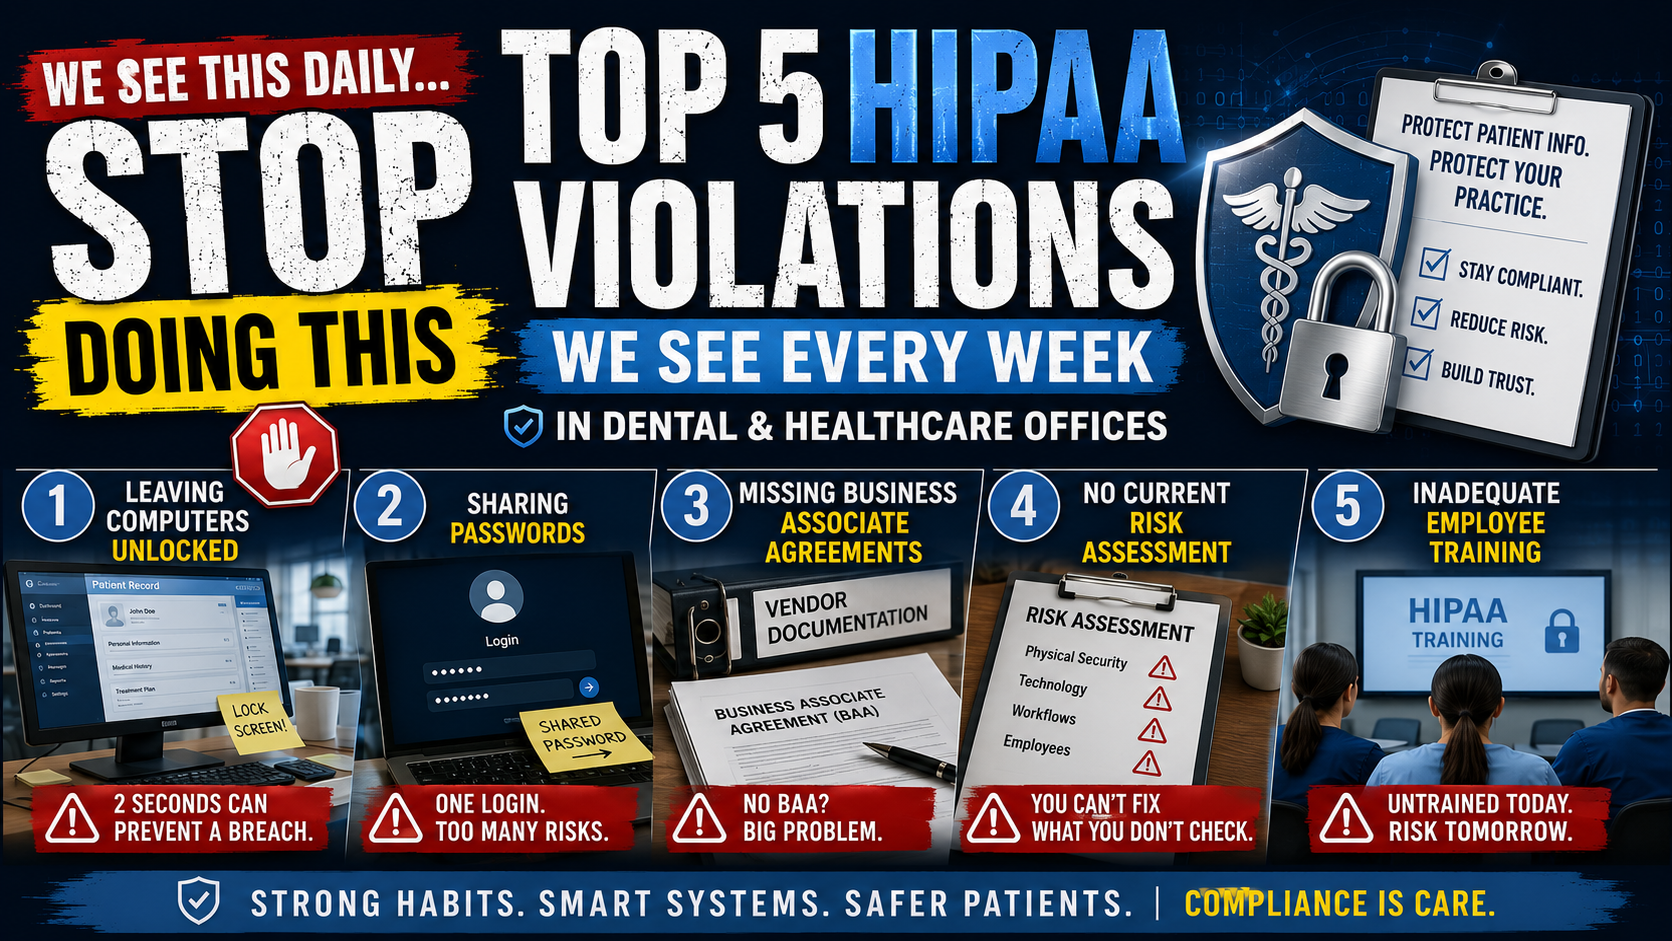
Top 5 HIPAA Violations We See Every Week

Here's the good news.


Most HIPAA violations aren't intentional.


They happen because offices get busy, shortcuts become routine, and new employees simply copy what they've always seen.

We call this Legacy Error—when incorrect habits get passed from one employee to the next. If you recognize one or two of these in your own practice, you're actually in good company.

The important thing isn't being perfect—it's identifying the risks before they become real problems.


So let's start with the one we probably see more than any other.


Violation  #1

Staff Leaving Computers Unlocked

This is probably the number one thing I find during office visits.

Staff steps away...

  • to answer a phone
  • help a patient
  • walk to sterilization
  • grab supplies

     …and their computer stays open with patient information visible.


Sometimes it's only for thirty seconds.


Sometimes it's several minutes.


It only takes a moment for curiosity to kick in. Before you know it, someone has started reviewing information they were never supposed to see.


At a clinic we worked with, a nurse stepped out of the exam room for just a couple of minutes to check on something and left the computer unlocked with the patient's chart open. When she came back, the patient's wife was sitting at the computer looking through her husband's medical record.


Now, we don't know exactly how much she saw or why she started looking, but that's really beside the point. The opportunity was there because the workstation had been left open. It created an awkward situation for everyone involved. The staff member was stressed, the clinic had to determine whether it was a reportable privacy incident, and it all could have been prevented by simply locking the computer before stepping out of the room.


That's why it’s good to remember—it only takes two seconds to lock your screen, but it can save hours of investigation and a lot of unnecessary stress.


Why it matters

Anyone walking by—including someone who has no business seeing that information—could potentially view:

  • Patient names
  • Treatment information
  • Insurance details, or
  • Financial information


Beyond compliance, situations like this can damage patient trust and create unnecessary investigations if questions arise later.


How to prevent this:

  • Enable automatic screen locks (this locks the screen after a set number of minutes without activity)
  • Lock your screen every single time you step away.
  • Perform occasional spot checks and coach employees when needed.


VIOLATION #2

Password Sharing

One of the biggest issues we see isn't necessarily that staff are sharing their electronic health record passwords. In fact, many offices do have individual EHR logins.


The problem is that everyone shares the same computer login. So multiple employees sign into Windows or the workstation using one shared username and password, and then each person opens the practice management or EHR software with their own credentials.


While that may seem harmless, it creates unnecessary security risks. Shared computer logins make it harder to determine who was actually using the workstation if there's a security incident, unauthorized access, or malware event. It also makes it more difficult to demonstrate accountability for access to systems that contain protected health information.


The better practice is simple: every employee should have their own computer login and their own login for any software they use. That way, you know exactly who accessed the workstation and when.


How to protect your practice:

Every employee should have:

  • Their own username
  • Their own password
  • Access only to the information they need to perform their job


This simple change helps protect:

  • Your patients
  • Your staff
  • Your practice 


VIOLATION #3

Missing Business Associate Agreements

"This one surprises a lot of practice owners."

If another company creates, receives, maintains, or transmits protected health information on your behalf, they generally need a Business Associate Agreement—or BAA.


Think about companies like:

  • IT companies
  • Cloud storage providers
  • Billing companies
  • Practice management software
  • Backup services
  • Answering services
  • And increasingly, AI tools that help with documentation, transcription, or administrative tasks.


If they can access patient information...

In most cases, a Business Associate Agreement is required before that vendor handles protected health information on your behalf.


Start doing this ASAP:

Review every outside vendor.

Ask: "Do they have access to protected health information?"

If the answer is yes...

Verify that an appropriate Business Associate Agreement is in place and keep a copy with your HIPAA documentation.


Expert Tip

Anytime you're adding a new service, make it a habit to ask one question before you sign the contract: 'Will this company create, receive, maintain, or have access to protected health information on our behalf?' If the answer is yes, find out whether a Business Associate Agreement is required before moving forward.


Create a simple vendor checklist that includes:

  • Vendor name
  • PHI access? Yes or No
  • BAA required?
  • BAA signed?
  • Date reviewed


This makes your annual HIPAA review much easier and helps ensure nothing falls through the cracks.


VIOLATION #4

No Current HIPAA Risk Assessment

This is probably the biggest documentation gap we find.


Many offices have:

Verbal expectations...

Training...

Notice of Privacy Practices and other basic forms...

But they've never completed—or regularly update— their HIPAA Risk Assessment.


The Risk Assessment helps identify:

  • Technology vulnerabilities
  • Physical security concerns
  • Employee risks
  • Workflow issues that could expose patient information


It's not something you complete once, file away, and forget.


Your Risk Assessment should be reviewed at least annually—and anytime your practice experiences significant changes, like implementing new software, moving offices, adding providers, or changing workflows. 


If you haven't completed a Risk Assessment, or it's been sitting in a binder collecting dust, set aside some time to:

  • Review your current risks and vulnerabilities.
  • Update your documentation to reflect how your practice operates today.
  • Create an action plan to address any gaps you identify.


Remember, the goal is to identify potential problems before they become a HIPAA breach.


VIOLATION #5

Inadequate Employee HIPAA Training

And this brings us to the issue that quietly contributes to almost every other violation we've discussed.

Many practices think HIPAA training means:

  • "Watch a training video."
  • "Sign this paper."
  • Done.


But effective HIPAA training helps employees understand how privacy applies to the work they do every day.


Employees should understand how HIPAA applies to the conversations they have...

The emails they send...

The passwords they create...

The workstations they use...

And how they respond if something goes wrong.

The strongest HIPAA compliance programs don't rely on annual training alone.

They build compliance into everyday habits.


RECAP

Let's quickly review the five biggest HIPAA issues we consistently find.

1.     Leaving computers unlocked.

2.    Sharing passwords.

3.    Missing Business Associate Agreements.

4.   Outdated HIPAA Risk Assessments.

5.    Treating HIPAA training as a one-time event.


The encouraging part?

Every one of these issues can be fixed with a little time and effort.

And most practices improve dramatically with a few practical changes and consistent follow-through.


CTA


Free OSHA Compliance Risk Review

If you recognized one—or maybe several—of these issues in your own practice, don't panic.


Like I said earlier, we rarely walk into an office that's got it all figured out. Most compliance gaps develop over time, and the important thing is identifying them before they become bigger problems.


While today's video focused on HIPAA, we know that strong compliance doesn't happen in silos. The same things that support HIPAA compliance—employee training, clear procedures, accountability, and consistent follow-through—also play a major role in OSHA and workplace safety.


Watch the full video here: https://youtu.be/Zp-fDTMqfwY?si=NF4ytmSgi-gBc6nG
By Kelli Ngariki July 9, 2026
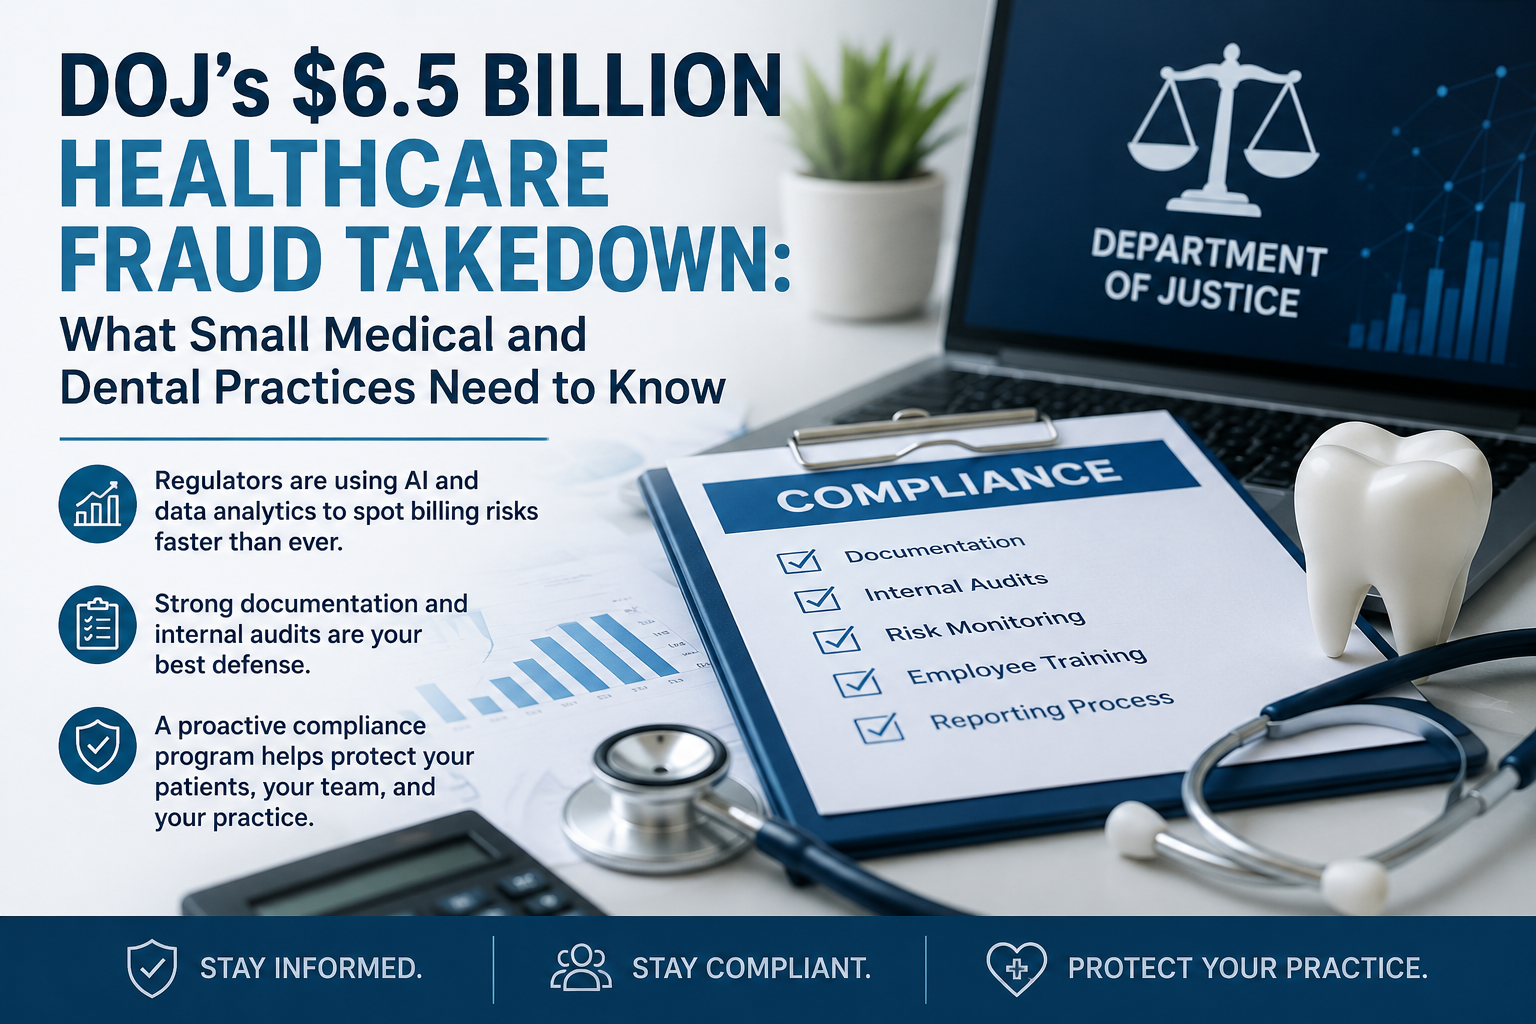
The largest healthcare fraud investigation in U.S. history offers valuable compliance lessons for small medical and dental practices. Here's what every practice owner and office manager should know.
By Kelli Ngariki June 18, 2026
If OSHA walked into your dental or healthcare office tomorrow, would your team know what to do?
By Ayana Guzzino May 12, 2026
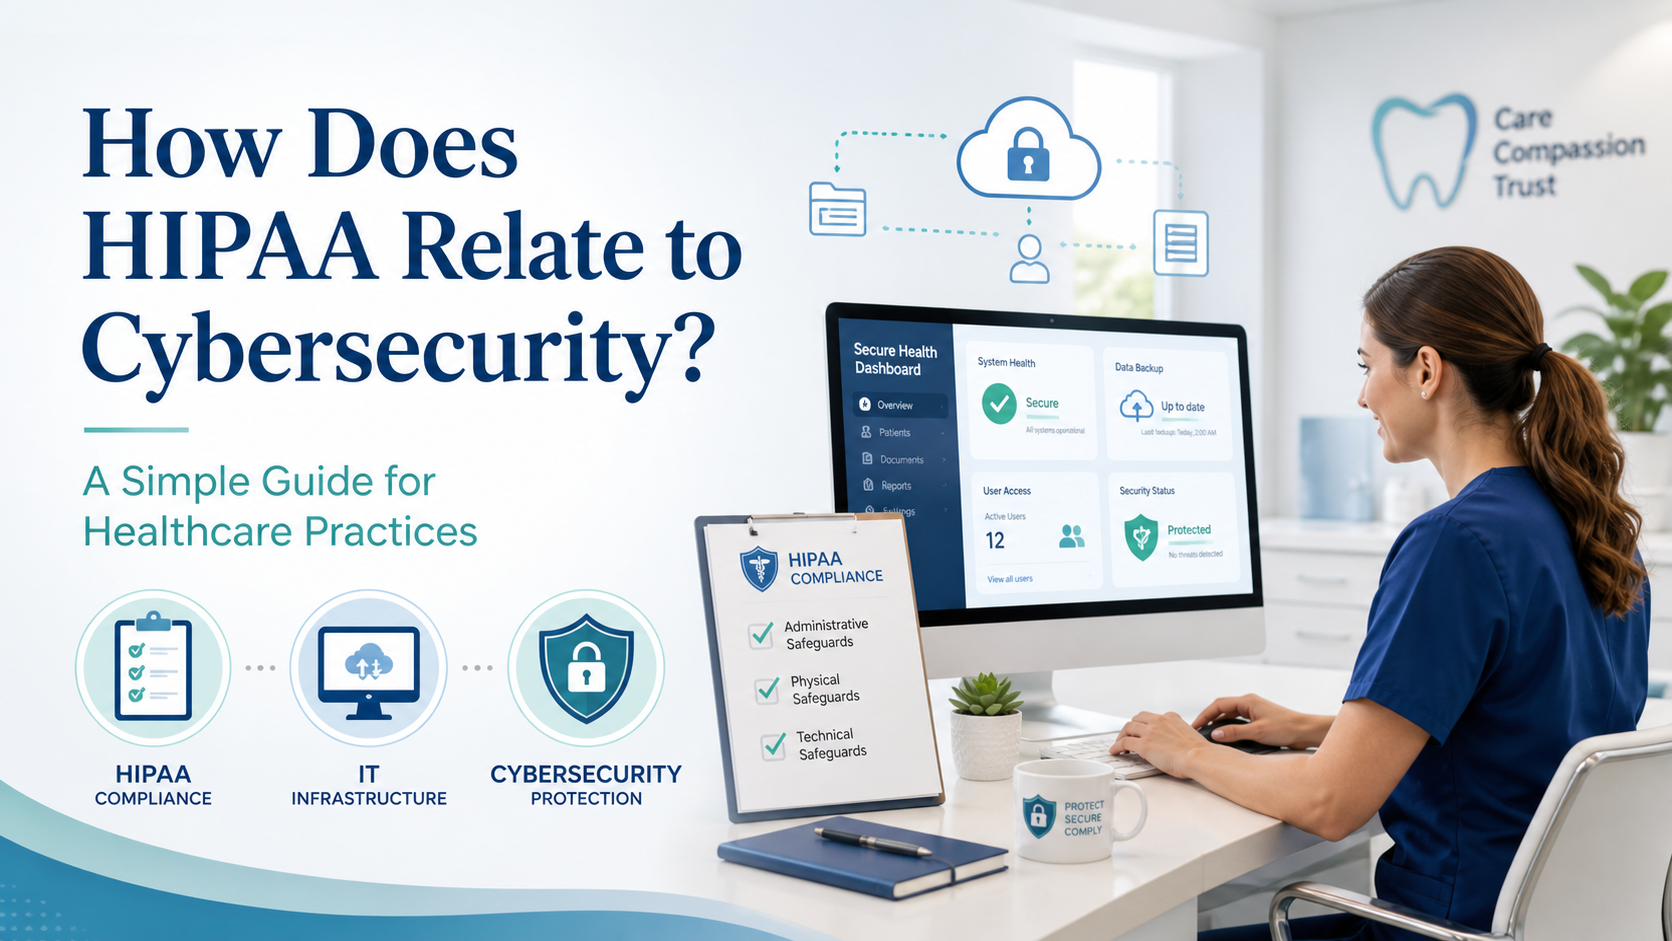
HIPAA, IT, and Cybersecurity: What Healthcare Teams Need to Know
HIPAA Compliance for Healthcare Practices
By Kelli Ngariki April 21, 2026
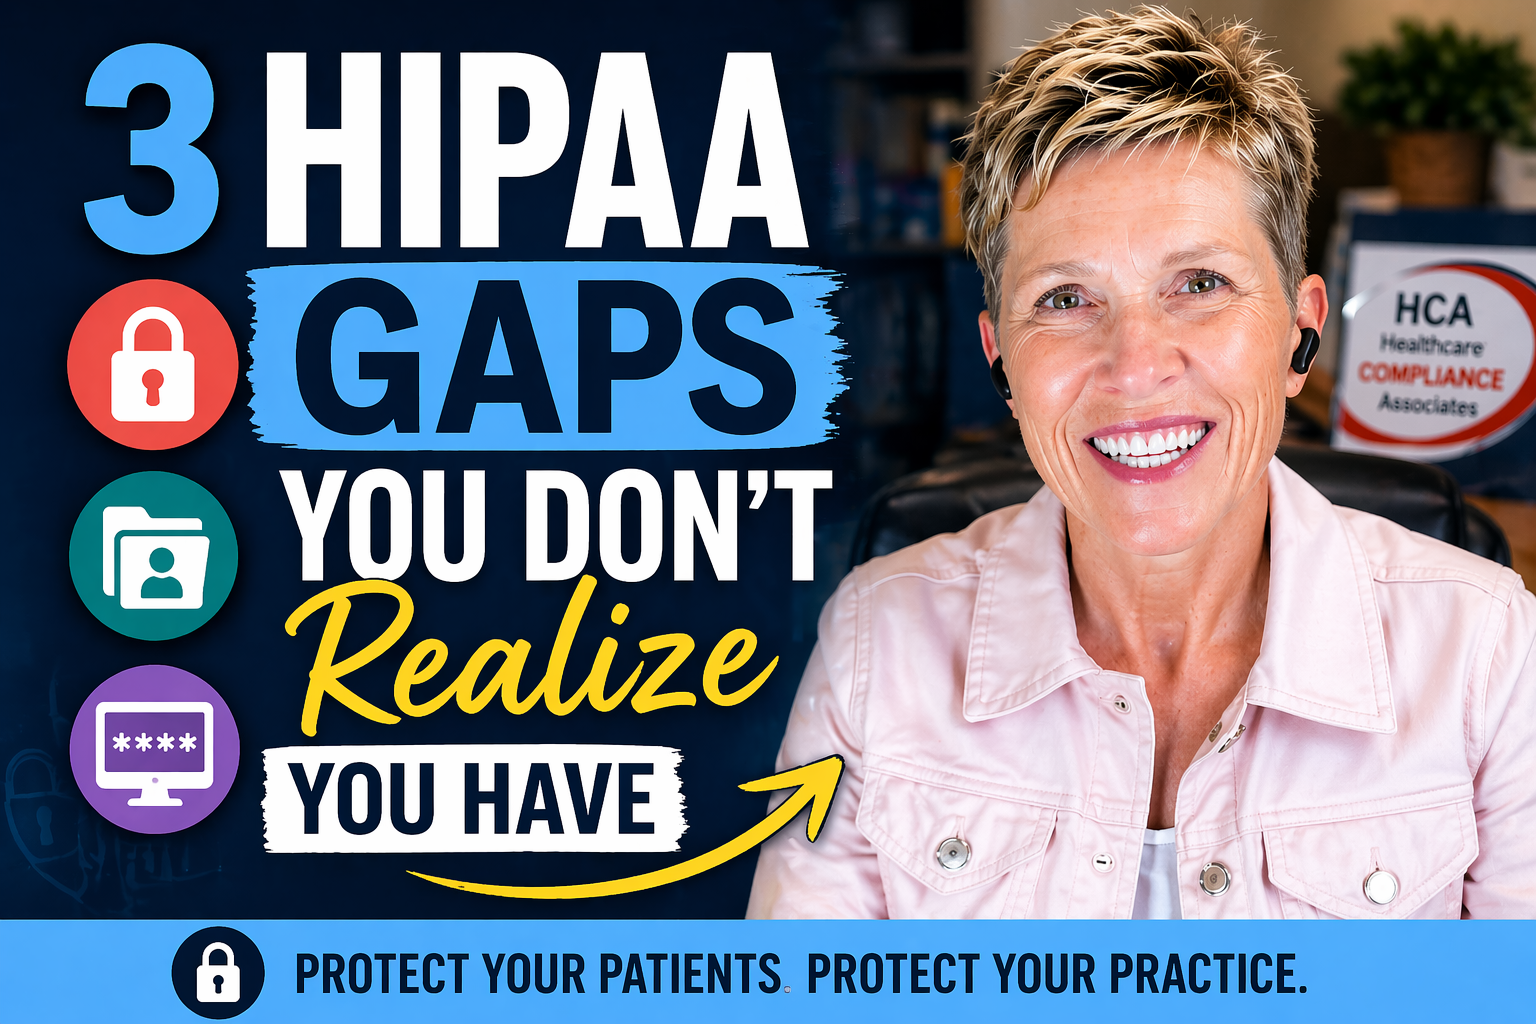
HIPAA Compliance for Healthcare Practices starts with identifying hidden gaps. Learn the 3 hidden compliance gaps commonly found and how to address them.
By Kelli Ngariki April 14, 2026
Small dental and healthcare clinics have enough on their plate without worrying about OSHA citations. Beyond avoiding fines, workplace safety is essential for protecting your team and fostering a culture of care, responsibility, and professionalism. Whether you’re new to managing compliance or just need a refresher, here are five key OSHA must-haves for 2025: 1. Bloodborne Pathogens & Sharps Safety Train annually (yes, every year!) on how to handle exposure risks Keep a current Exposure Control Plan Offer the hepatitis B vaccine series and document refusals Ensure every employee with face-to-face patient contact has a documented TB test, as required for healthcare settings 2. Hazard Communication Make sure your team knows where SDS sheets are stored and how to read them Label secondary containers clearly Train new staff on chemical hazards—before their first exposure 3. PPE Use and Fit Gloves, eye protection, masks, gowns: who wears what, and when? Train staff on how to properly don and doff PPE Conduct hazard assessments to justify PPE use 4. Emergency Action Plans Fire evacuation, exit routes, and emergency contacts should be posted and known Conduct brief Emergency Action Plan refreshers annually (many offices forget this!) 5. OSHA Documentation & Inspection Prep Keep training logs, incident reports, and written plans accessible Know what to do if an inspector shows up—who talks to them, what documents to provide Bonus: Don’t Let OSHA Be a Surprise Most OSHA citations in small clinics are for things like: Failure to document regular safety meetings Missing training records No exposure control plan Blocked exits Failing to flush eye wash stations Why OSHA Compliance Matters More Than Ever in 2025 OSHA doesn’t have to be overwhelming. With a little preparation and the right tools, you can create a safe, compliant workplace and avoid costly mistakes. Want help with your OSHA binder, policies, or staff training? Reach out—we make compliance doable for busy healthcare teams. This post was drafted with assistance from AI and reviewed by a compliance professional to ensure accuracy and relevance for healthcare practices.
By Kelli Ngariki March 5, 2026
Learn what patching vulnerabilities means for dental and small healthcare practices, who owns it, how often to patch, and what OCR expects after ransomware.
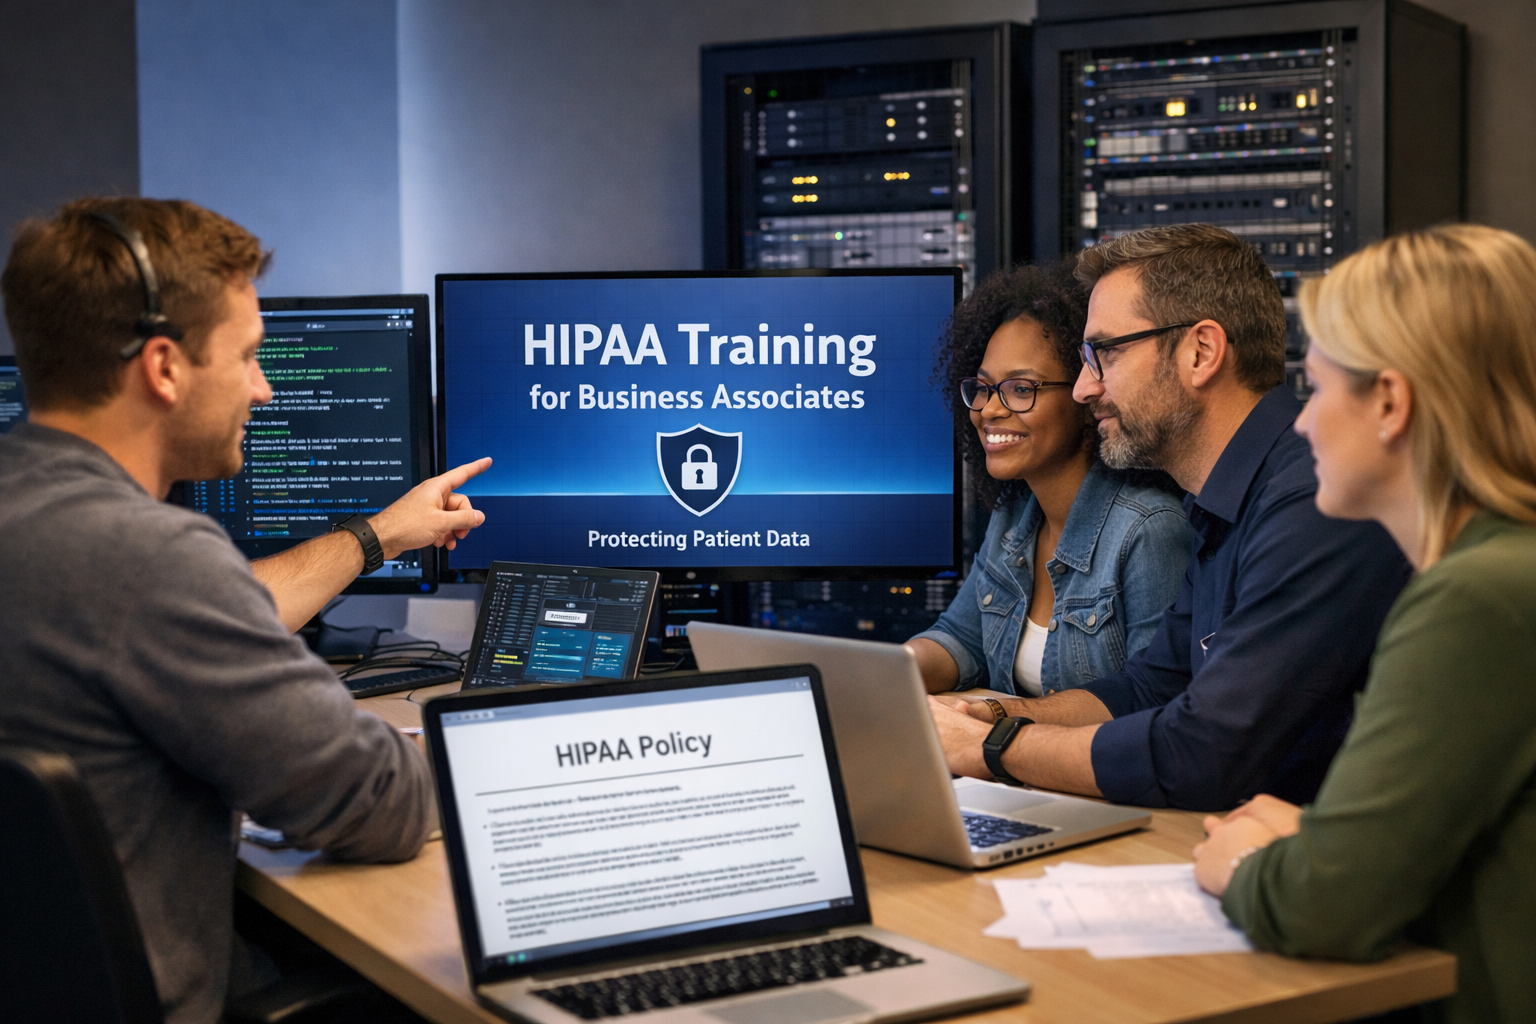
People receiving HIPAA training; a man points to a screen displaying training information. Laptop open, server room in background.
By Kelli Ngariki February 18, 2026
Many tech companies and vendors don't realize HIPAA applies to them. Learn if you're a Business Associate and what training your workforce needs to avoid fines.
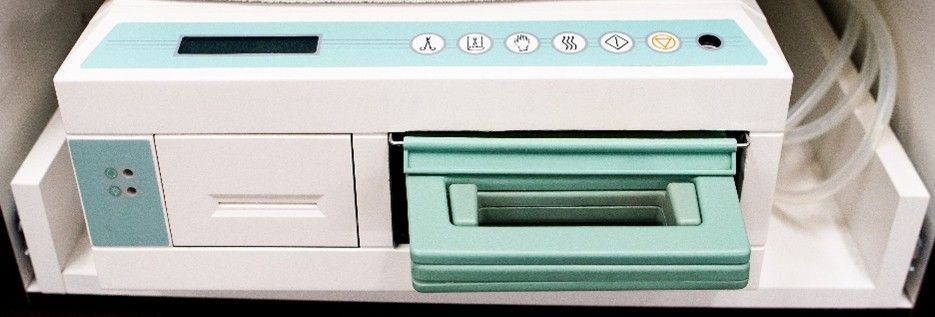
Medical device, white and teal, with a tray and control panel.
By Kelli Ngariki November 24, 2025
In fast-paced dental and medical clinics, it’s tempting to rely on a STATIM sterilizer—a type of immediate-use steam sterilizer—to quickly process instruments. But using this device appropriately is critical to patient safety and regulatory compliance. This post breaks down when and how to use STATIM sterilization based on CDC flash sterilization guidelines, helping small healthcare practices stay compliant without cutting corners. What Is an Immediate-Use Steam Sterilizer (STATIM)? A STATIM sterilizer is a specialized piece of equipment used for immediate-use steam sterilization (IUSS), formerly known as flash sterilization. It’s designed to rapidly sterilize medical and dental instruments that are urgently needed for patient care—not for routine or convenience-based use. When Is It Acceptable to Use a STATIM Sterilizer? According to CDC sterilization standards, STATIM use is acceptable only when: • The instrument is urgently needed and there’s no time to sterilize using standard packaging and storage methods. • It’s not being used to compensate for having too few instrument sets or to save time during busy periods. CDC Guidelines for Flash Sterilization: What You Must Do Following these steps will help you stay compliant with CDC and OSHA infection control requirements: 1. Limit Usage to Urgent Needs Only use STATIM sterilization for instruments needed immediately for patient care. 2. Do Not Use for Convenience Avoid using it as a way to speed up workflow or compensate for inadequate inventory. 3. Thoroughly Clean Instruments First All instruments must be fully cleaned and decontaminated before entering the STATIM cycle. 4. Do NOT Store Unwrapped Items After sterilization, transfer instruments (or handpieces) directly to the point of use in a sterile container or tray. Never store unwrapped items. 5. Use Approved Containers Only Only use flash sterilization containers or trays designed for high-temperature steam. 6. Monitor All Sterilization Cycles • Use biological indicators at least weekly. • Use chemical and mechanical indicators in every STATIM cycle. 7. Prevent Contamination During Transfer Maintain a clean transfer process. Ensure that items aren’t contaminated during handling or transport. Best Practices for STATIM Sterilizer Use in Dental and Medical Clinics • Keep backup instrument sets available to reduce reliance on immediate-use cycles. • Ensure staff are trained on STATIM operation and CDC sterilization protocols. • Document and log every STATIM cycle, including indicator results. • If your clinic is frequently using the STATIM for convenience or to keep up with patient flow, consider investing in an additional autoclave to support proper instrument processing and reduce compliance risks. Learn More from the CDC For detailed guidance on sterilization in healthcare settings, visit the CDC’s official page: πŸ”— CDC Sterilization Guidelines Strong infection control isn’t just about guidelines— it’s about how your dental practice operates day to day. The way instruments are handled, PPE is used, and procedures are carried out in the clinical space affects both infection control and OSHA compliance. Issues in these areas are often identified during OSHA inspections, exposure incidents, or infection control reviews. Our FREE OSHA Compliance Risk Review helps dental practices understand how their safety and infection control efforts are functioning by identifying: Workflow or physical-space issues that may increase exposure risk OSHA gaps related to PPE, training, or exposure controls Areas where OSHA and CDC infection control expectations overlap It’s a simple, no-obligation way to confirm whether your safety systems support both staff protection and patient care. πŸ‘‰ Schedule Your Free OSHA Compliance Risk Review
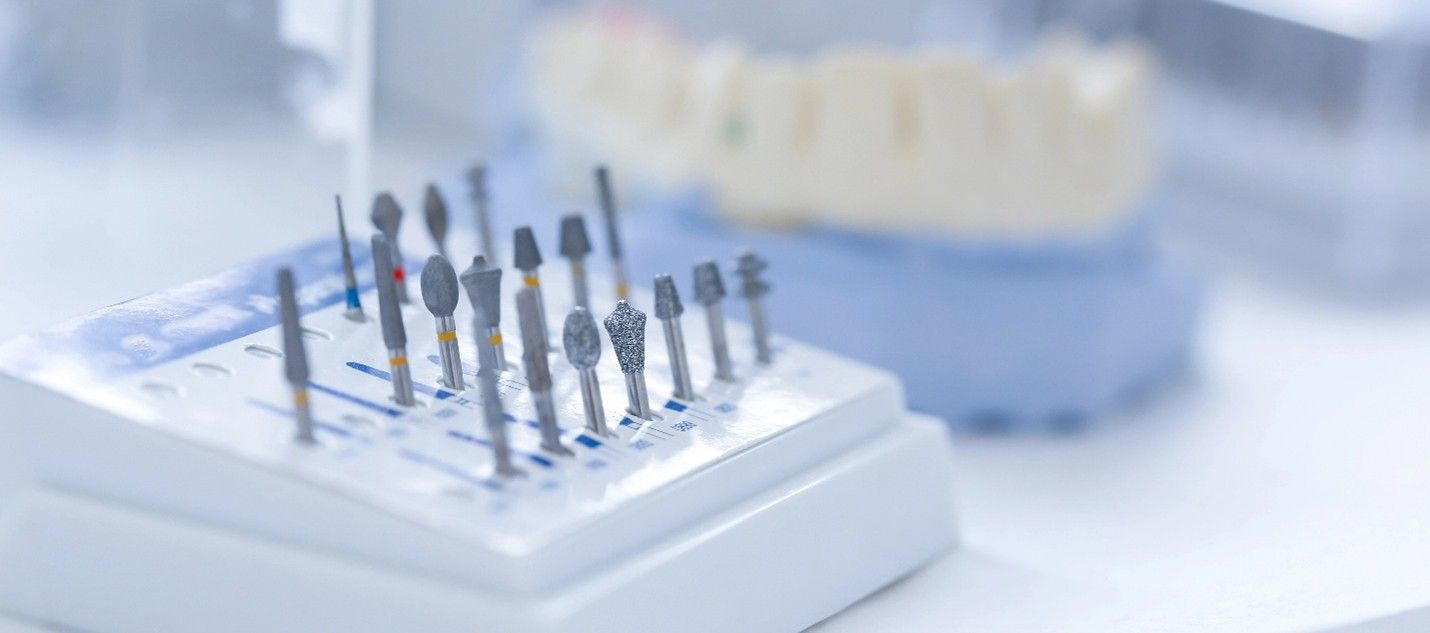
Dental drill bits in a holder, with a dental mold in the background.
By Kelli Ngariki November 18, 2025
If you've ever wondered about the right way to clean and sterilize dental burs, you're not alone. The CDC gives general guidance for sterilizing dental instruments, but doesn’t get into bur-specific details. Regardless of which autoclave you use, the process for burs remains largely the same. Here's how to do it right. The CDC's Take: General Guidelines The Centers for Disease Control and Prevention (CDC) classifies burs as critical or semi-critical instruments, depending on how they’re used. That means they need to be heat sterilized. But before you toss them in the autoclave, they need to be properly cleaned and packaged. Step-by-Step: Best Practices for Burs Here’s how to apply infection control principles in your practice: 1. Identify Your Burs Single-use or Reusable? Check manufacturer instructions. If there are no validated reprocessing instructions, consider the bur single-use and toss it after one use. 2. Pre-clean and Inspect Remove debris immediately after use. Use an ultrasonic cleaner or manually scrub with a detergent or enzymatic solution. Rinse and dry completely. Inspect for damage or wear. If damage, wear, or corrosion: Remove the bur from use (even if minor damage) Discard it in the sharps container For quality control and tracking, consider documenting the discard and the reason. Never try to repair or reuse. 3. Packaging for Autoclaving Best Practice: Use a Bur Holder or Cassette Place burs in a bur block, bur guard, or instrument cassette designed for sterilization. Choose holders that are autoclave-safe (heat-resistant and able to withstand moisture). Then wrap or pouch the holder itself—not the loose burs. Bonus Tip: Some bur blocks come with color-coded or numbered slots so you can standardize bur sets per procedure. If you're using a pouch: make sure the bur holder fits comfortably and the pouch is sealed with chemical indicators inside. Use sterilization pouches or wraps approved for steam sterilization. For small batches, individual pouches work fine. Larger loads can go in wrapped cassettes. Seal all packaging properly and include internal and external chemical indicators. 4. Load Placement in the Autoclave Place pouches paper side up (or follow your pouch manufacturer’s instructions). Don’t overcrowd the trays. Allow space between items. Do not let pouches or cassettes touch the chamber walls. Cassettes should be placed horizontally unless your autoclave manual says otherwise. 5. Choose the Right Cycle Pick the cycle that matches your packaging: "Pouches," "Wrapped Cassettes," or similar. Make sure to allow full drying time to prevent moisture-related contamination. 6. Post-Sterilization Handling Let packs cool and dry fully before handling. Store in a clean, dry area away from sinks or contamination zones. Reprocess any items in compromised packaging. A Note on Sterility and Performance Burs are small and intricate, making them tricky to clean. Over time, reusing them can reduce cutting efficiency and increase the risk of breakage. Keep track of how often burs are reused and inspect regularly. Documentation Matters Make sure your infection control manual includes: Bur inventory (type and classification) Manufacturer instructions for cleaning and sterilization Step-by-step packaging and sterilization protocol Inspection and discard criteria Final Thoughts Using your autoclave the right way means following a solid protocol: proper cleaning, smart packaging, and correct cycle selection. When in doubt, refer to the bur manufacturer's IFU and document everything. Ready to Step Up Your Compliance Game? Book a Compliance Risk Review with us today. We'll evaluate your sterilization protocols, OSHA readiness, HIPAA safeguards, and infection control practices to make sure your office is fully protected and audit-ready. Don’t wait for an inspector to find the gaps—let’s fix them now. Call Lindsay at 541-345-3875 ext. 3 .
why-bleach-should-never-be-used-in-dental-unit-waterlines-blog
By Kelli Ngariki November 3, 2025
The Temptation: “Bleach Kills Everything… Right?” When biofilm builds up in dental waterlines, it’s tempting to grab that familiar bottle of bleach and think, “This will take care of it.” But here’s the truth: while bleach does kill bacteria, it can also damage your equipment, corrode your lines, and void your warranties—all while failing to meet the requirements set by the CDC and EPA for dental unit waterline treatment. The Science: Why Bleach Fails the DUWL Test Dental waterlines are delicate systems that require a balance of disinfection, safety, and equipment compatibility. Here’s why bleach (sodium hypochlorite) doesn’t belong anywhere near them: Not EPA-Registered for DUWLs: The EPA maintains a list of antimicrobial products approved for dental unit waterline use. Bleach isn’t on it. Using an unregistered product puts your practice out of compliance and at risk during inspections. Corrosive to Dental Equipment: Bleach corrodes metal fittings, valves, and plastic tubing, leading to leaks and costly repairs. It also degrades O-rings and adhesives inside the dental unit—issues that can cause long-term system failure. Doesn’t Rinse Cleanly: Bleach leaves chemical residues that are difficult to flush completely, creating a potential safety hazard for both patients and staff. No Validated Instructions for Use (IFUs): Without IFUs for dilution or contact time, there’s no safe way to know how much bleach (if any) could be used without harming your unit—or your patients. The Safer, Smarter Way to Shock and Maintain Your DUWLs To eliminate biofilm safely, choose EPA-registered products that are specifically formulated for dental waterlines and validated by equipment manufacturers. Common and trusted options include: Hydrogen peroxide–based systems (e.g., ProEdge Liquid Ultra, Sterilex Ultra, Mint-A-Kleen) Silver-ion systems (continuous maintenance tablets) Iodine or peracetic acid formulations These products are tested for: Compatibility with dental materials Safety for patients and staff Proven effectiveness against biofilm Real-World Lessons: Quick Fixes = Costly Problems One hygienist shared her experience: “We tried diluted bleach as a quick shock because we were low on supplies. Two weeks later, we failed our waterline test—and had to reschedule four patients.” Shortcuts might seem efficient, but they often result in failed water tests, system repairs, and frustrated patients. Best Practices for Dental Waterline Compliance Follow the manufacturer’s instructions for use (IFU) for your dental unit and treatment product. Perform a shock treatment as recommended (typically quarterly or after test failures). Use a continuous treatment product between shocks. Test monthly or per IFU, or state and CDC guidance to ensure ≤ 500 CFU/mL. Key Takeaway Bleach belongs in your laundry room, not in your dental unit waterlines. By using approved products and consistent testing, your practice can stay safe, compliant, and confident—without risking costly equipment damage or failed inspections. Want Help Simplifying Your DUWL Protocols? At Healthcare Compliance Associates, we help dental teams across Oregon develop waterline maintenance programs that pass testing the first time—every time. πŸ‘‰ Contact us today to schedule a compliance consultation or waterline protocol review. 541-345-3875 πŸ“ž www.oshahipaatraining.com